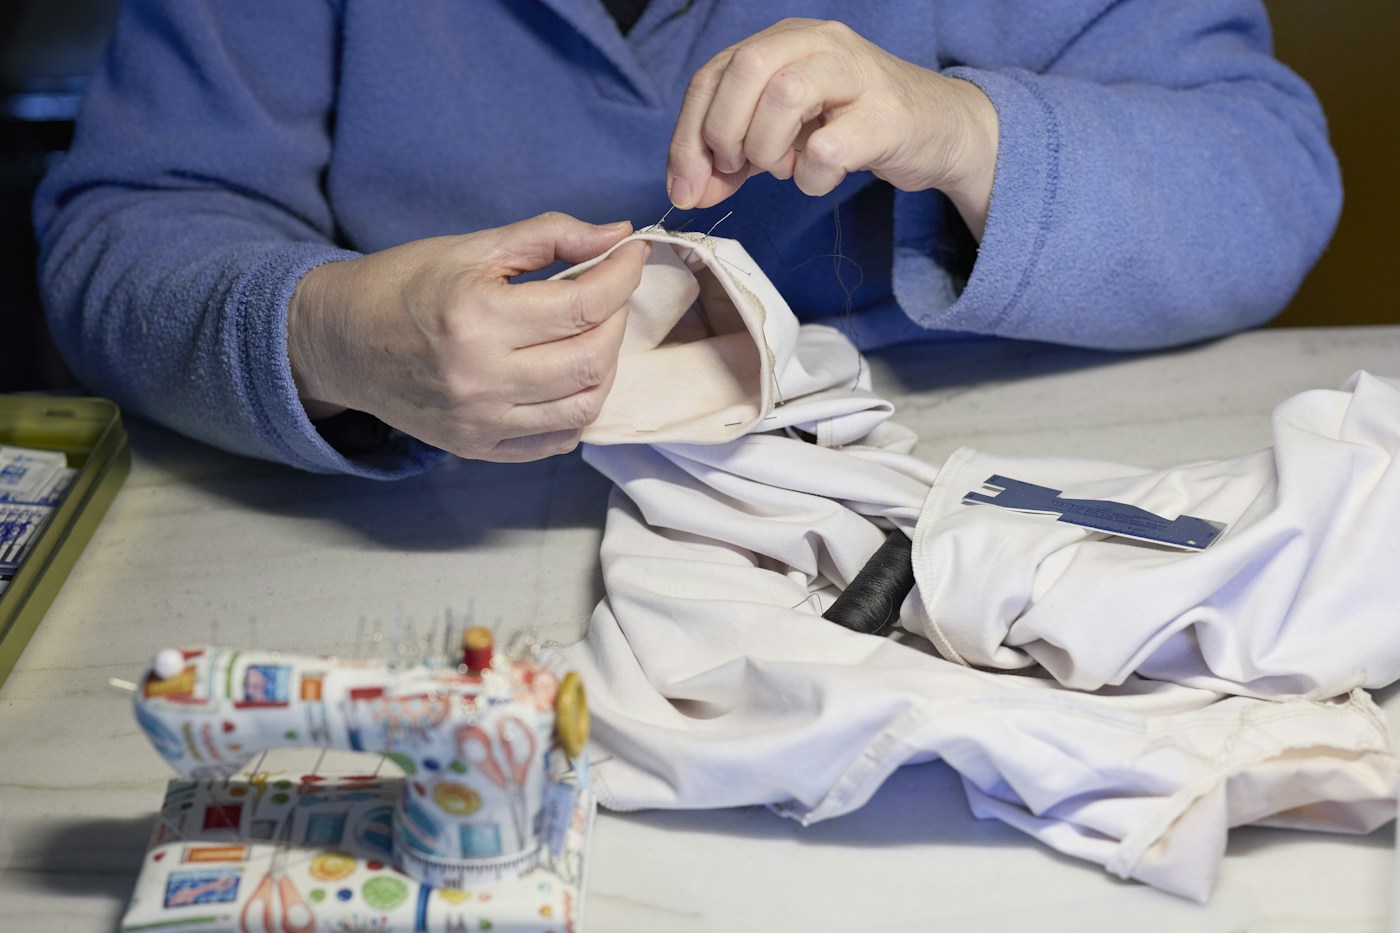
What do you need to sew on a button by hand?
A sewing needle, thread, scissors and a suitable button are enough to repair many shirts, coats and trousers. The aim is to attach the button in the right position, with secure stitches and enough clearance for the buttonhole to slide underneath without pulling the fabric. You do not need a machine or previous experience of hemming. Work at a well-lit table and start with a stable fabric, such as a cotton shirt.
Allow around fifteen to twenty minutes for your first attempt. Much of the work involves preparing and checking rather than adding more stitches. A badly positioned button can be very securely sewn yet still fasten poorly. Before cutting thread, compare the area with the other buttons on the garment.
1. Identify the button and inspect the fabric
A flat button has two or four visible holes. A shank button has a loop on the back through which the thread passes. The metal button on many jeans, meanwhile, is secured with a rivet and is not replaced using the same method. Look at how the button is attached before choosing your repair.
Remove only the loose threads, cutting carefully without cutting the garment fibres. If the fabric is torn, badly thinned or has a hole larger than the area covered by the stitches, it needs reinforcing or repairing before attaching the button. Repeatedly sewing into an already damaged patch will not restore its strength and may make the tear larger.
2. Choose the needle, thread and replacement button
First look for a spare button, sometimes attached to an inside seam or supplied in a small packet with the clothing. Its diameter and thickness must allow it to pass through the buttonhole without force and remain secure once fastened. An attractive button that is too small may slip out; an oversized one can damage the buttonhole.
For an ordinary shirt, use sewing thread in good condition and a needle that passes through the fabric and button holes without forcing. Matching the original thread makes the repair less noticeable. Keep a sample of the old thread for comparison. If the needle bends or requires considerable pressure, stop and adjust your materials. A thimble helps you push, but cannot make an unsuitable needle appropriate.
3. Mark the position with the garment aligned
Lay the garment flat without stretching it and overlap the two fronts as they would sit when fastened. Use neighbouring buttons and garment edges as references. If the old position remains visible and the garment previously closed well, reuse it. Otherwise, make a small tailor’s chalk mark through the buttonhole onto the fabric underneath.
Test any marking tool in a hidden area and follow its removal instructions. Avoid permanent ink. Move aside fabric that must not be stitched: the two fronts of a shirt must remain separate. With a lined coat, check whether you can work through the appropriate layer alone. Do not accidentally catch the lining or sew shut a pocket beneath the repair.
4. Prepare the thread and anchor the first stitch
Cut approximately 50–60 centimetres of thread, pass it through the needle and bring the ends together to work with doubled thread. Knot the ends. An excessively long length tangles more readily and does not create a better attachment. If you are learning, practise the movement on a scrap to understand where the needle will emerge.
At your marked position, bring the needle from the wrong side to the right side and pull until the knot rests against the fabric without distorting it. Keep your fingers out of the needle’s path. The first stitch should be hidden beneath the button. Check again that you have not caught an unwanted layer before making repeated passes.
5. Attach a flat two-hole or four-hole button
Pass the needle through one button hole, position the button over the mark and take the needle down through the other hole and into the fabric near the first stitch. Bring it back up and repeat with even tension. As a starting point, make four to six passes per pair of holes using doubled thread. Assess the attachment rather than relying on a universal stitch count.
For a four-hole button, work the second pair as well. You can make parallel bars or an X, following the pattern on neighbouring buttons. Distribute stitches without creating a mound of thread that blocks the holes. After each pass, let the thread extend fully so that hidden loops do not form underneath.
6. Leave clearance for the fabric thickness
If you pull a flat button tightly against thick fabric, the buttonhole may not fit beneath it. In that situation, create a small thread shank. Place a smooth toothpick across the button beneath the stitches to reserve clearance while sewing. Remove it after attaching the button, keeping the stitches together.
Bring the needle out between the fabric and button and wrap the thread several times around the stitches forming the shank, without passing through the button holes again. The necessary height depends on the thickness of the part being fastened. Do not automatically leave a long column: on a thin shirt, excessive clearance allows the button to lean over and catch on other objects.
7. Adapt the method for a shank button
A shank button already has a loop that holds its face away from the fabric. Place that loop over your mark and pass the needle through the fabric and rear opening, repeating firm stitches. Do not try to pierce the decorative face. Match the orientation of the other buttons so that the buttonhole meets it in the expected position.
The loop should not wobble because it is attached to only one fabric fibre, but it does not need to be crushed against the garment either. Inspect the metal or plastic for sharp edges that might cut the thread. Replace a cracked button or a broken loop. Extra stitches cannot restore a component that is physically damaged.
8. Finish the thread without loosening the stitches
Take the needle to the wrong side, pick up a small section of the existing stitches and draw the thread through until a loop remains. Pass the needle through that loop and close it gently to secure the end. Repeat so the thread cannot slide free. Trim the excess, leaving a short tail rather than cutting directly against the knot or touching the fabric with the scissors.
Before putting the needle away, inspect both sides. There should be no long loops, thread wrapped around a neighbouring button or puckers caused by tension. Keep the fastening compact. If a bulky knot feels uncomfortable against the skin, remake it smaller rather than covering it with additional stitches.
9. Test the repair and solve common problems
Fasten and unfasten the button two or three times with the garment positioned as it would be worn. The buttonhole should pass with reasonable firmness without pulling the button off or leaving it excessively loose. Give the button a gentle tug to check its attachment. Puckered fabric may indicate excessive tension; a button falling sideways may have an overly loose shank or stitches.
If the thread tangles halfway through, avoid pulling hard. Back the needle out and open the loop patiently. If the position is wrong, cut and remove the repair thread and mark again. Correcting the starting point produces a better result than trying to drag the button into place with diagonal stitches.
How to care for the garment after the repair
Follow the clothing care label when washing and check the button after its first use. This helps confirm that the thread remains secure and the buttonhole is not putting excessive strain on it. Keep spares in an envelope labelled with the garment and store needles and scissors properly. A small sewing kit makes the next repair easier to start.
Very delicate fabrics, valuable garments and fastenings on young children’s clothing deserve additional care. A loose button can be swallowed; Patagonia recommends professional repair for its garments intended for children aged three and under. Knowing when a fastening needs more controlled work is part of looking after clothing, alongside being able to carry out a straightforward repair at home.
Frequently asked questions
Can I use a single thread?
Suitable thread and enough stitches can work, but doubled ordinary sewing thread is a practical starting point. Avoid old or weakened thread.
How many passes should I make?
Four to six passes per pair of holes with doubled thread are an initial reference, not a universal guarantee. The button should be secure without distorting the fabric.
Must a four-hole button have an X?
No. Two parallel bars are also possible. Follow the pattern on the other buttons and work both pairs of holes.
Why is the button difficult to fasten?
It may be the wrong size, incorrectly positioned or too tightly pressed against the fabric. Check the buttonhole and the clearance before adding stitches.
Does a shank button need a thread shank too?
Usually its own loop already supplies the required clearance. Sew through that rear loop and the fabric.
Can I glue the button instead?
Glue does not provide the same attachment for a functional button and may stain or stiffen clothing. Choose a repair appropriate to the fabric and its purpose.
Can I sew onto a tear?
Repair or reinforce the fabric first. Strong stitches in a torn base can keep pulling out fibres and enlarge the damage.