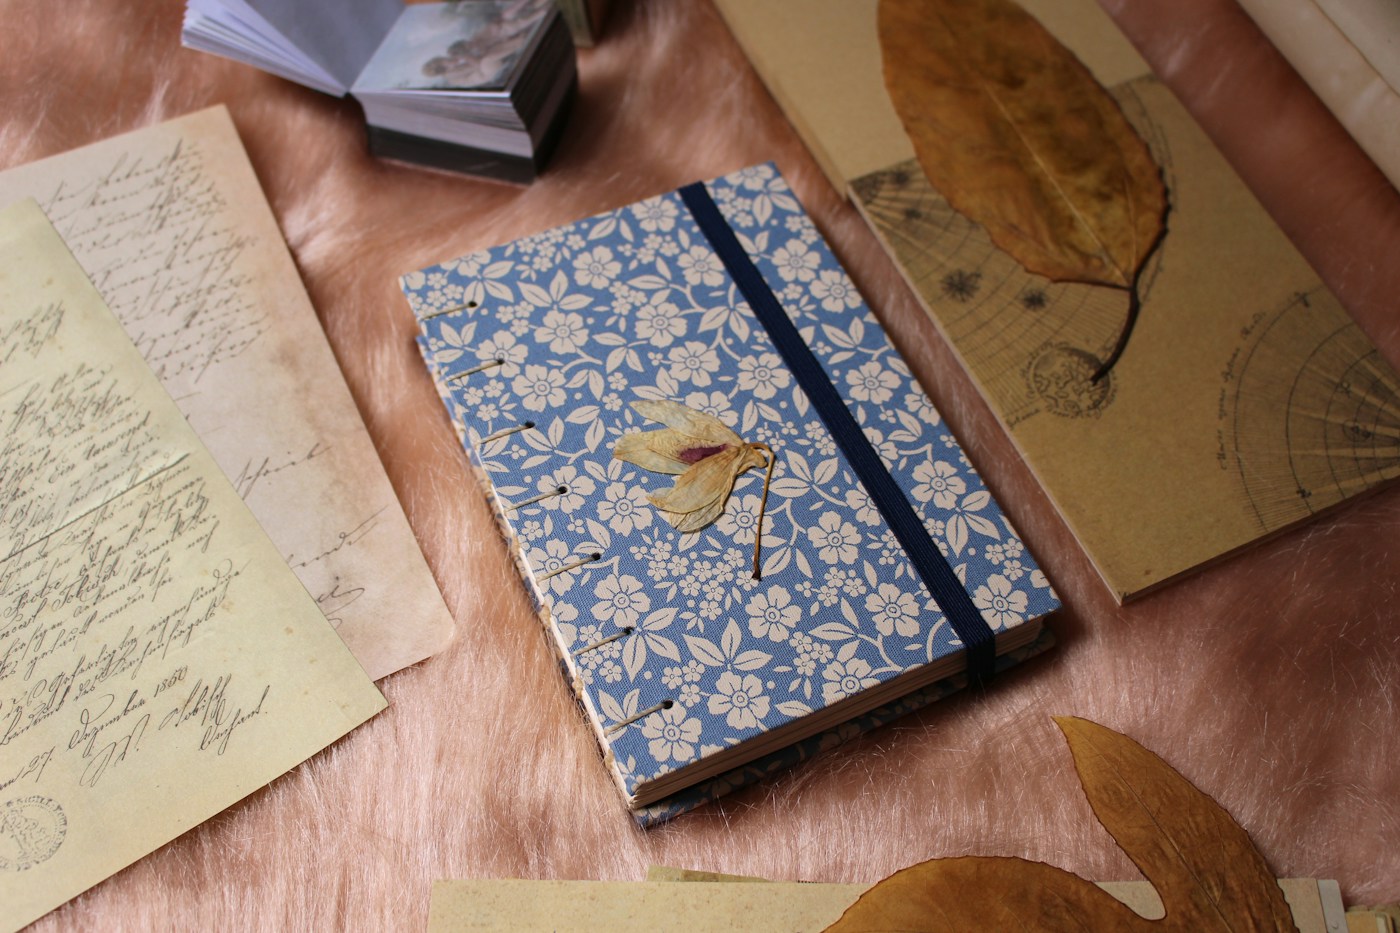
What are you making, and how many pages will it have?
This project makes a notebook from one nested group of folded sheets, called a signature, held together with a three-hole pamphlet stitch. Eight A4 sheets folded in half produce sixteen A5 leaves, or 32 pages, excluding the cover. If the paper already has printing on one side, not all those pages will be blank. The number describes the writing surfaces, rather than the amount of new paper.
Allow a clean table and roughly an hour for your first attempt. The cover is flexible, without a glued spine or rigid boards. This structure suits notes and light sketches; a much thicker book needs a different binding. Starting small lets you understand the sewing sequence before buying a large collection of tools.
Materials: a short list with clear measurements
Gather eight A4 sheets, measuring 210 by 297 mm, of similar thickness; one A4 sheet of card for the cover; a ruler; a pencil; two binder clips; a bookbinding needle or suitable blunt needle; and about 65 cm of strong thread that fits the holes without stretching them. Waxed bookbinding thread is convenient, but you do not have to start with it. Avoid elastic and very thick string.
Make the holes with a bookbinding awl, supported by a thick cardboard pad or a proper piercing cradle that protects the table. The awl is sharp and should be handled by an adult. A bone folder helps crease paper; a clean spoon with a smooth edge can also apply pressure without cutting into the sheet.
Choose reused paper that is still pleasant to use
Remove staples and reject sheets that are damp, brittle, badly crumpled or covered with adhesive residue. Check both sides of any printouts before using them: personal details, workplace records and confidential information do not belong in a notebook that other people may see. A sheet that looks blank on the front can still contain information on the back.
Group paper of roughly matching size and weight. Packaging card can become a cover if it is clean, dry and flexible enough to fold without breaking. When you can identify the direction in which the paper bends more easily, favour a spine fold that follows that direction. If the cover cracks along the crease, choose thinner card instead of pressing harder.
Step 1: fold each sheet separately
Place an A4 sheet in landscape orientation and bring the short edges together, making an A5 leaf approximately 148.5 by 210 mm. Align the corners before applying pressure. Start the crease at its midpoint with a finger, then work towards each end. Smooth it gently with a folder while the sheet is supported. Repeat with the remaining sheets and the cover.
Folding the entire stack at once seems faster, but makes misalignment and a bulky crease more likely. If the paper has printing, decide now where you want the clean surfaces to appear. Test the arrangement with two sheets before folding everything. Accepting some printed pages is easier than dismantling the notebook later because you expected an impossible sequence of blank sides.
Step 2: assemble the signature and mark three holes
Open the folded sheets and nest them inside one another, with the card on the outside. Check that all the folds meet along the same axis. Clip the stack near the top and bottom edges, away from the sewing line. Put small pieces of scrap card under the clips if their pressure leaves marks.
On a paper strip 210 mm tall, mark a point 30 mm from the top, another at 105 mm and a third at 180 mm. This is your piercing template. Place it inside the signature, aligned with the fold. These measurements are a practical choice for this notebook, rather than a universal binding rule; the useful principles are symmetrical holes and a reasonable distance from the ends.
Step 3: pierce without tearing the spine
Open the stack into a V over the piercing support, keeping your fingers out of the path of the tool. Pierce the three marks through the fold, including both pages and cover. Work slowly and keep the awl square to the stack at the point being pierced. Each hole should admit the needle and thread without becoming a long slit.
If eight sheets are difficult to pierce, reduce the number for the first notebook instead of forcing a sudden movement. Remove the template after checking that all three holes go through every sheet. Never pierce with the notebook resting on your lap or hand. Put the sharp tool away as soon as this stage is finished, leaving a clear working area for sewing.
Step 4: prepare the thread and begin at the centre
Cut thread to about three times the spine height: approximately 63 to 65 cm for a 21 cm spine. Thread the needle without knotting the far end. Open the notebook in front of you and pass from the inside to the outside through the centre hole. Leave a loose tail of about 7 cm inside and hold it so it cannot disappear through the hole.
The thread will be visible along the outside of the spine. Before continuing, identify the top, centre and bottom in your working position. Rotating the notebook is possible, but can make a first attempt confusing. A short thread forces you to restart; an unnecessarily long one tangles more readily. This allowance is sufficient for the small structure described here.
Step 5: follow the complete three-hole route
With the needle outside at the centre, enter the top hole from outside to inside. Carry the thread down the inside to the bottom hole and pass out through it. This long inner segment crosses the centre area without going through the centre hole. Finally, travel back towards the centre on the outside and enter through the centre hole, returning to the inside.
Both the starting tail and the needle end should now be inside the notebook, beside the middle hole. The long segment connecting top and bottom also lies inside. When returning through the centre, avoid piercing the existing thread. If the needle will not move freely, withdraw it slightly, locate the space within the hole and try again without turning the opening into a tear.
Step 6: adjust the tension and tie in the right place
Before making a knot, remove slack by drawing each segment through a little at a time. Aim for thread that sits neatly against the spine without cutting into the paper. Arrange one loose end on each side of the long inner thread. Tie the ends together around that central segment with a firm double knot.
Open and close the notebook to check that the sewing follows the movement. Only then trim the ends, leaving about 1 to 2 cm. The knot does not need glue. If both tails end up on the same side of the long segment, slip one beneath it before tying. This makes the knot hold the sewing in place, rather than merely sitting beside the centre hole.
Finish the cover without making the project unnecessarily complex
Write a title, add a small label or use a paper offcut to identify the notebook. Avoid covering the spine with adhesive tape to conceal the sewing: tape makes opening, repairing and replacing the thread more awkward. If you glue decoration to the cover, use a little adhesive and let it dry fully before putting the notebook away.
Inner sheets may project slightly beyond the outer sheets at the open edge. You can leave that difference in this project. Trimming with a craft knife is not required for a usable notebook. Perfectly flush edges call for appropriate equipment and experience. A simple, well-creased cover without heavy additions often lasts better on a first attempt than an elaborate cover loaded with decoration.
Fix loose sheets, torn holes and a notebook that will not close
If a sheet is loose, check whether the thread passed through all three of its holes. Untie the knot, or cut only the thread, and sew again; the paper need not be thrown away. If a hole has torn, easing excessive tension may stop the damage spreading, but a badly damaged sheet should be replaced before restarting.
A notebook that springs open may contain too many sheets, overly thick paper or weakly defined folds. Remove some sheets and crease them individually again. Do not try to flatten an overfilled signature by force. Loose sewing calls for a thread adjustment; excessive thickness calls for a structural change. Recognising the difference makes the second attempt much easier.
Use, store and adapt your next notebook
Allow any glued cover decoration to dry, then store the notebook clean, supported and away from water or direct heat. Handle it with clean, dry hands. Reused papers can age differently, so a home binding made from mixed scraps should not be described as permanent archival storage for irreplaceable records.
After using it, identify what you actually needed: more blank surfaces, a more flexible cover, a smaller format or less bulky thread. Note the combination that worked before changing materials. Several small signatures can serve separate subjects. Joining them into a thicker book is a further project with its own binding structure. This first notebook is valuable because you can understand, repeat and repair its straightforward sewing.
Frequently asked questions
Do eight sheets make eight pages or 32?
Eight folded A4 sheets make sixteen A5 leaves, or 32 page surfaces. Existing printing means some surfaces may not be blank.
Can I make it without glue?
Yes. Thread holds the structure together. Glue is optional for decoration and is unnecessary on the spine or knot.
Do I need a sharp needle for sewing?
Once the holes are made, a blunt bookbinding needle is easier to control. It should fit the hole and carry the thread without tearing the paper.
Can I put twenty sheets in one signature?
That is not a good first adaptation. Excessive thickness makes folding, piercing and closing difficult. Begin with eight or fewer and choose another structure for a thick book.
Where do the thread ends go before I tie them?
Inside, beside the centre hole, with one on either side of the long inner segment. Tie around that segment to secure the sewing.
Must I trim the open edge?
No. A slight projection of the inner sheets is normal. Leave it as it is rather than making an unnecessary cut.
How can I replace a sheet later?
Unpick or cut the thread, preserve the order, replace the sheet and sew the same route again. Avoid ripping the sheet out of the binding.